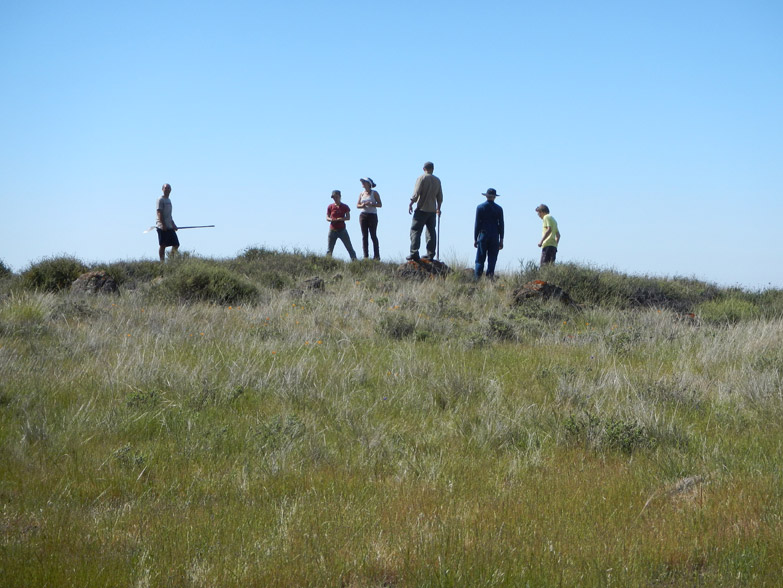
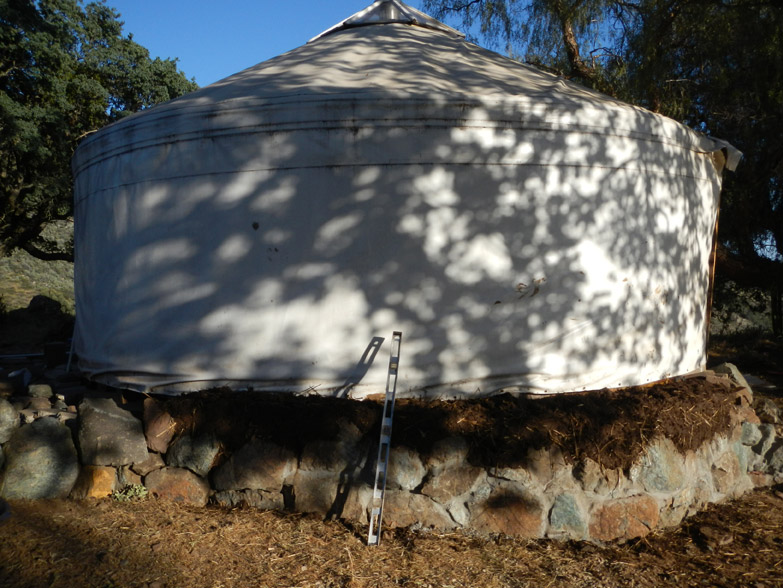
The approximate area of the house we are constructing is 550 sq feet. We have 20 days and 15 not-so-experienced people to get the walls up and to put a roof on it (well, at least set up the ridge beam). Will we make it?
First few days are spent on getting familiar with the cob mixing process. In theory, it’s pretty simple.
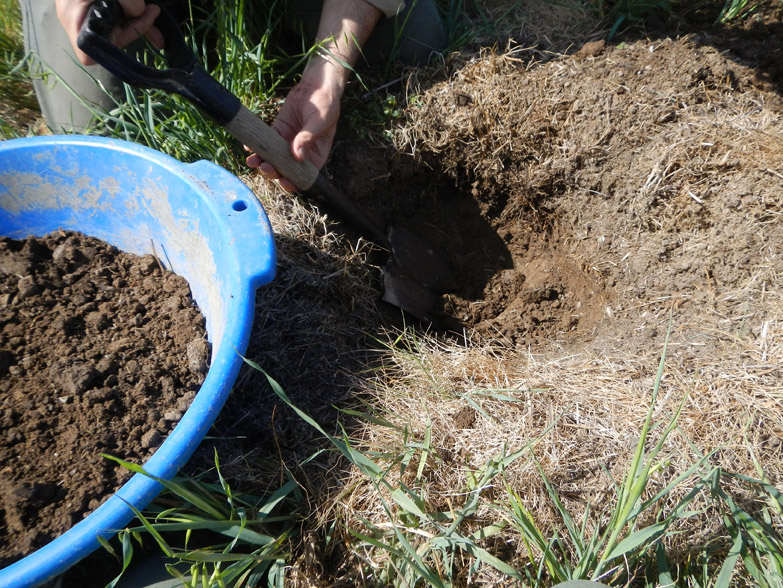
We place the dry materials (soil, clay and sand) on a 8 x 10 ft tarp and roll it by pulling on the corners
Then we add water to the mixture and roll it again
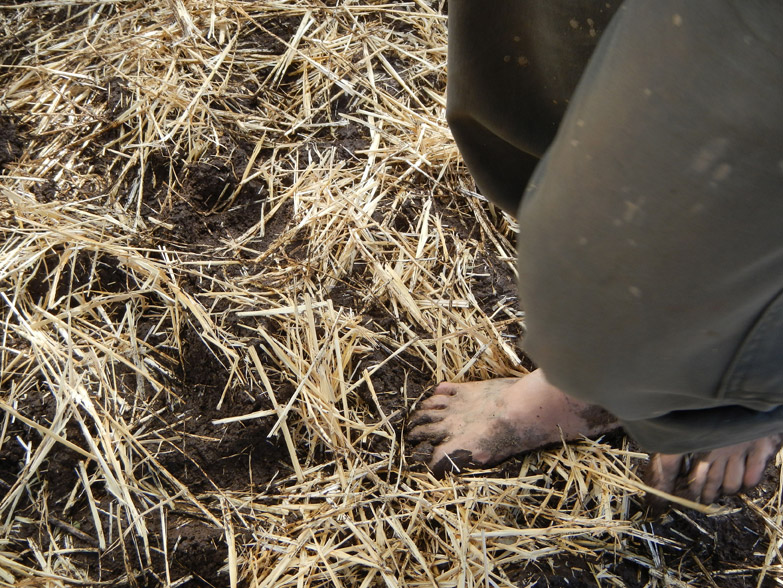
We stomp the mixture with our feet until it’s evenly moist and mushy. “Mud dancing”, we call it.
Final step is to add straw, roll it again and dance on it until all straw is integrated
In practice it turns out to be pretty simple as well. If the mix comes out too wet, add a bit more soil and straw. If it’s crumbly, add clay. The material is very forgiving, and there really isn’t “the right” way to mix it. As long as all the materials are integrated into a malleable mix, it’s ready to be applied.
This is our process.
We start by taking soil samples to make test blocks. Will they be rock-solid or crack?
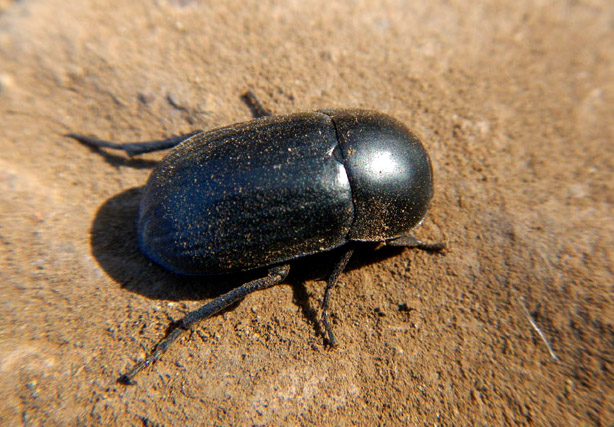
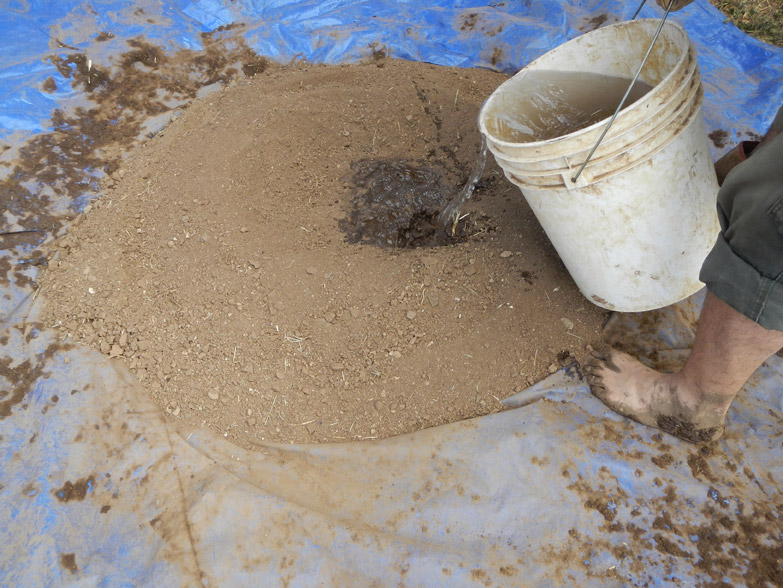
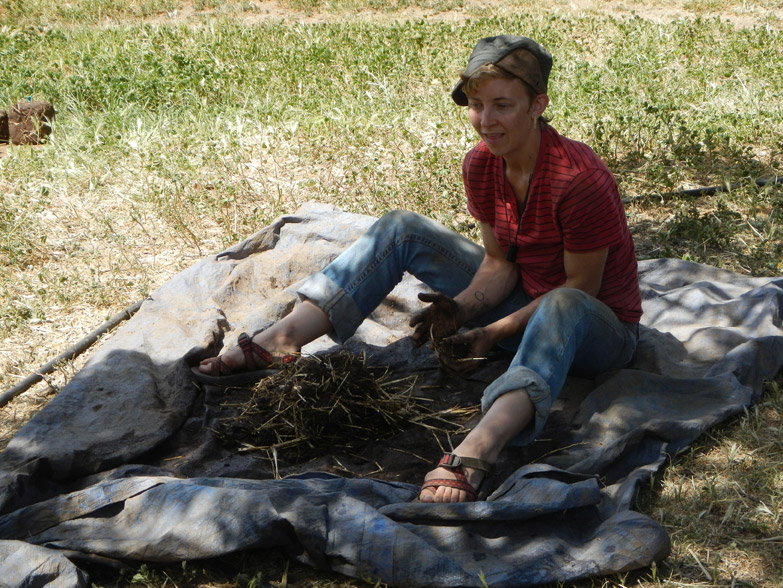
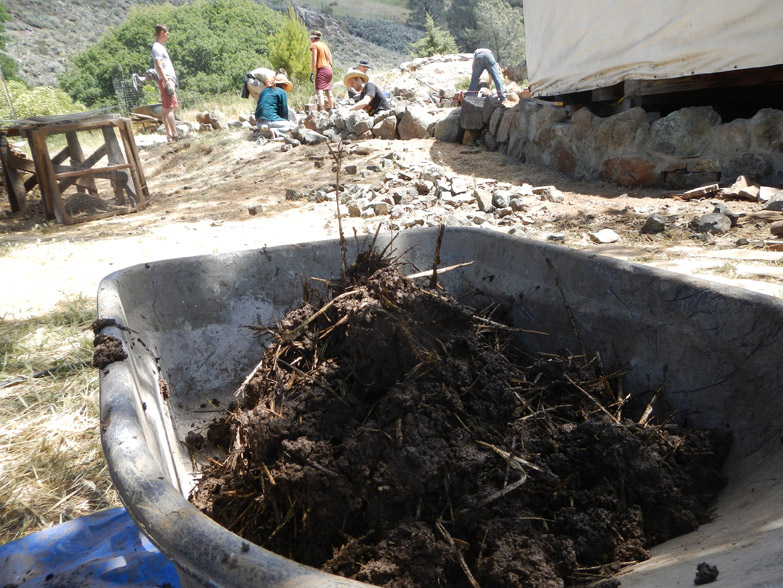
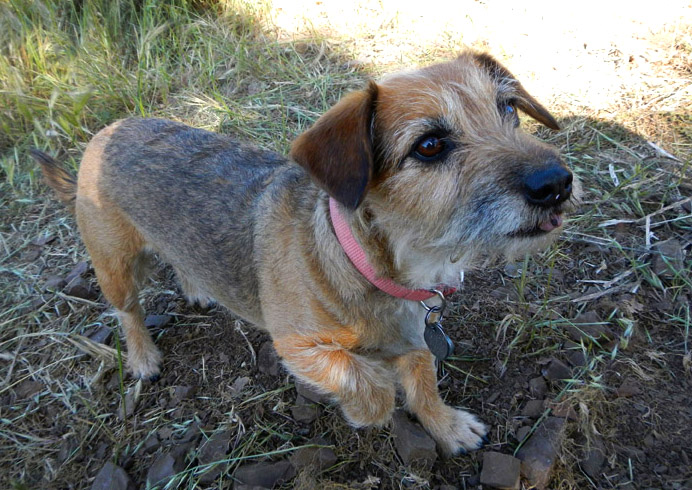
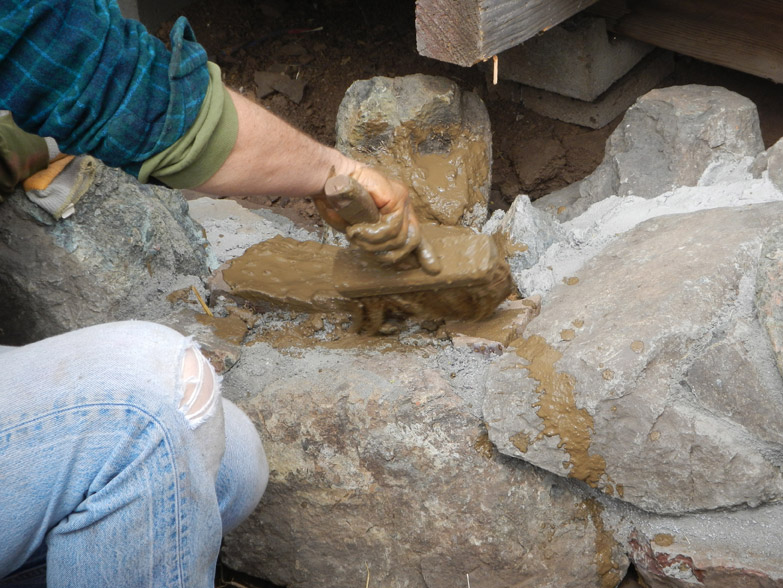
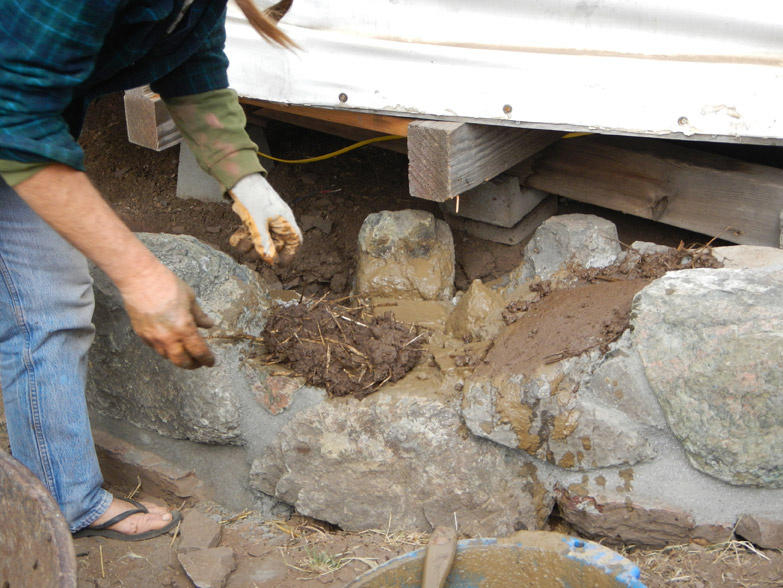
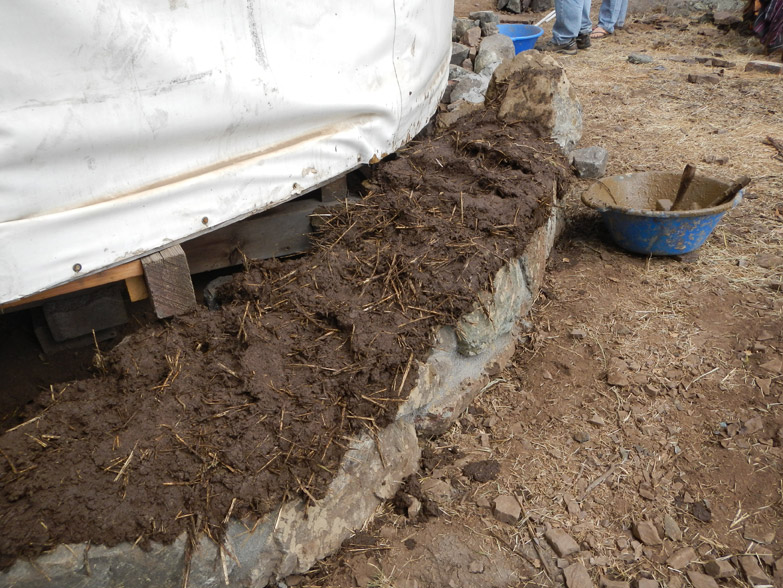
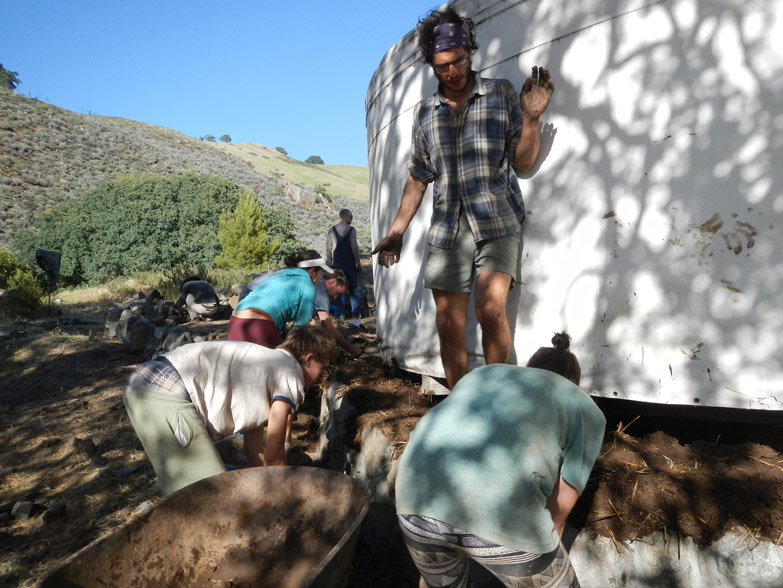
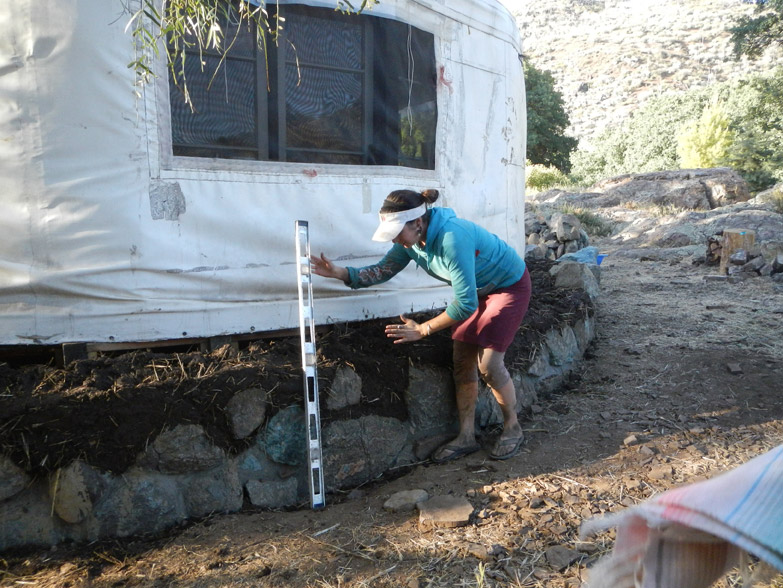
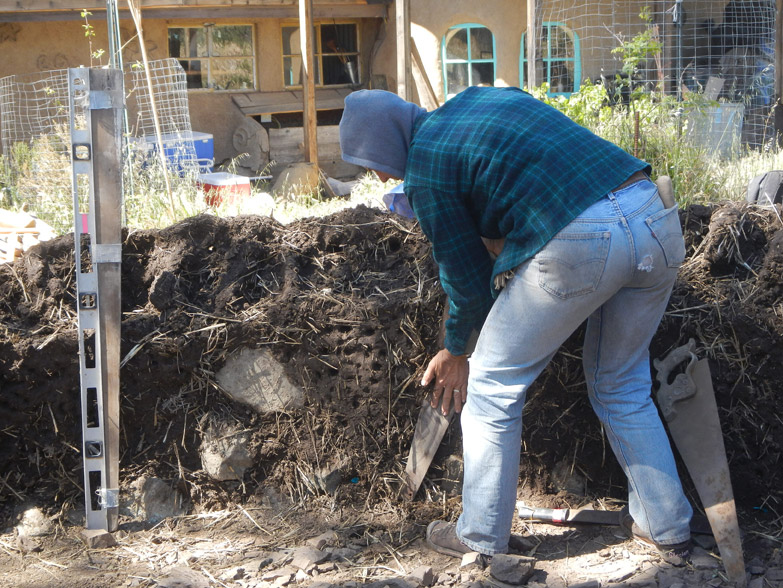
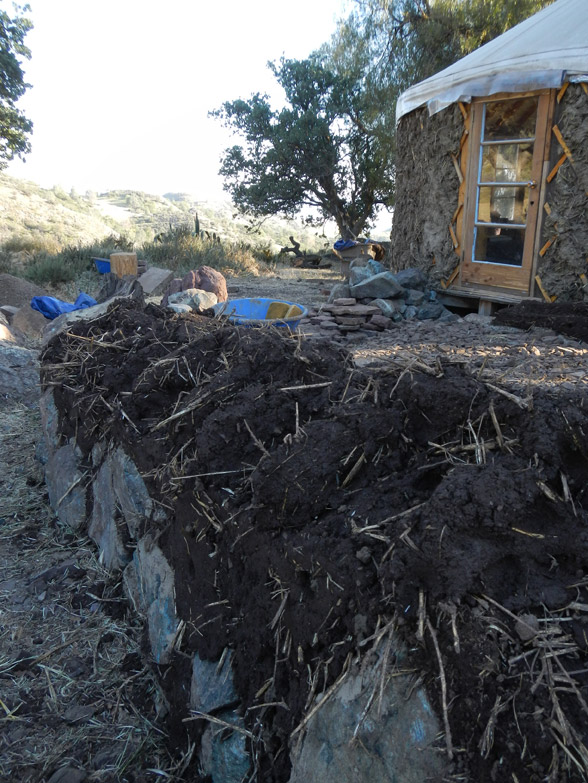
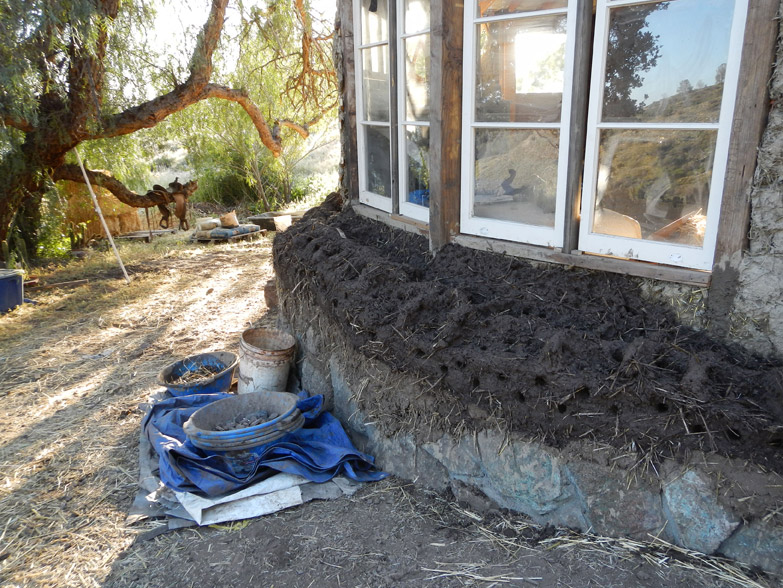
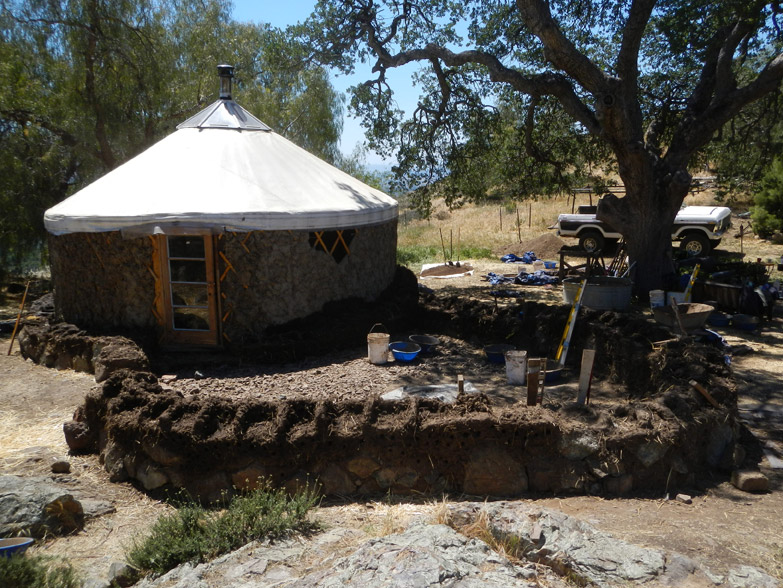
Mining for cob 🙂 More soil samples from various areas within the property to experiment with clay content.Soil that we use for building our homes is also home to many creatures. This one is extra-cute!We picked the soil source, now we mix a batch of cob. Our recipe is 1 part soil, 1 part sand and 1/4 part clay (high-clay soil). We place it all on the tarp and gradually add water.When the soil, sand and water are well mixed, we add straw to give the future structure tensile strength.Hm…I think this batch is ready…Finished cob is delivered to the wall in wheelbarrows.Time for a break and a game of “fetch” with Wednesday, she is the sweetest dog in the world.Ok, back to work. Before putting cob in the rocks, we pre-wet the surface with “slip” – a thin mixture of water and clay. It helps cob to stick to stone.Then cob is applied directly on topFirst layer of cob is laid out on the foundation and we are ready to do the rest of the wall.Natural born cobbers.To keep the walls straight (also known as ‘plumb’) we continuously check the slant with a level.Any excess cob is cut off with a saw or a machette. The outside wall should lean in at a 5% angle, while the inside wall is kept plumb.To help the wall dry on the inside and to integrate the layers of cob better, we create these “spines and ribs”.Windows.Buckets. Spines and ribs. Oh and some holes to help the air get inside the wall to dry it.The wall grows about a foot per day.Our glorious structure to be… 🙂