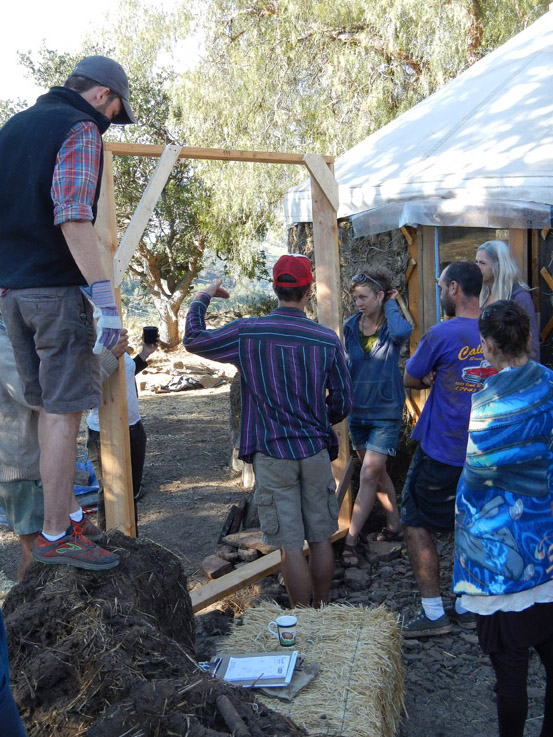
The walls are going up fast, and it’s time to think about the ‘eyes and mouth’ of the house, windows and doors that is. Hey, that’s less cob walls we have to build ;)
D O O R S
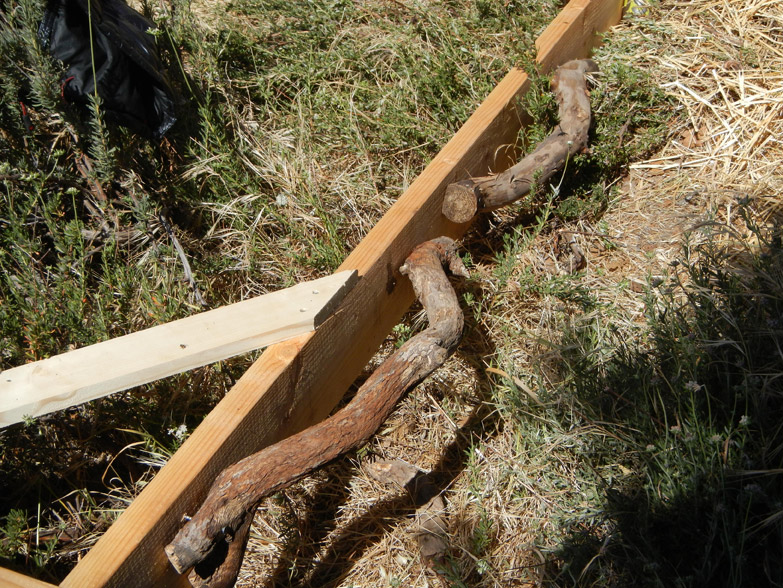
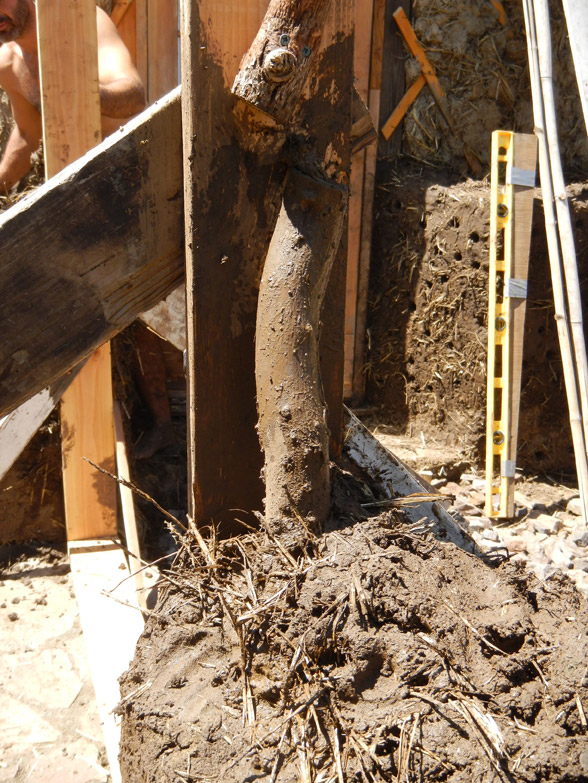
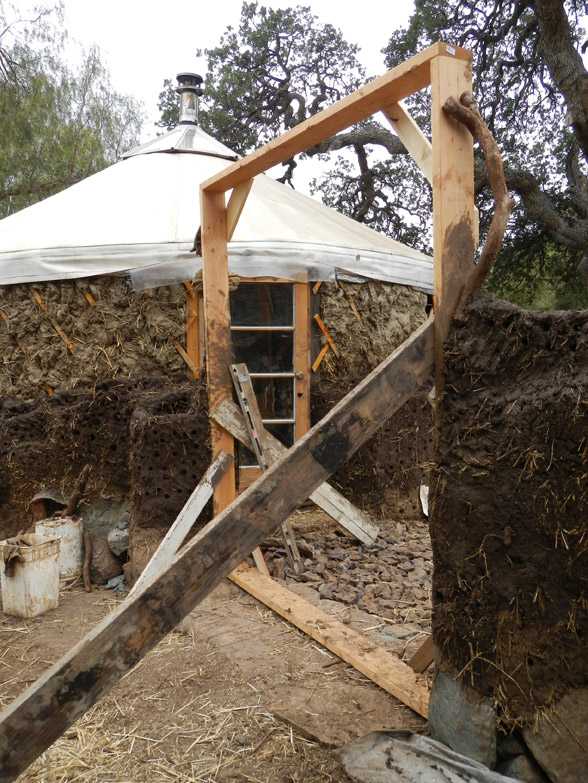
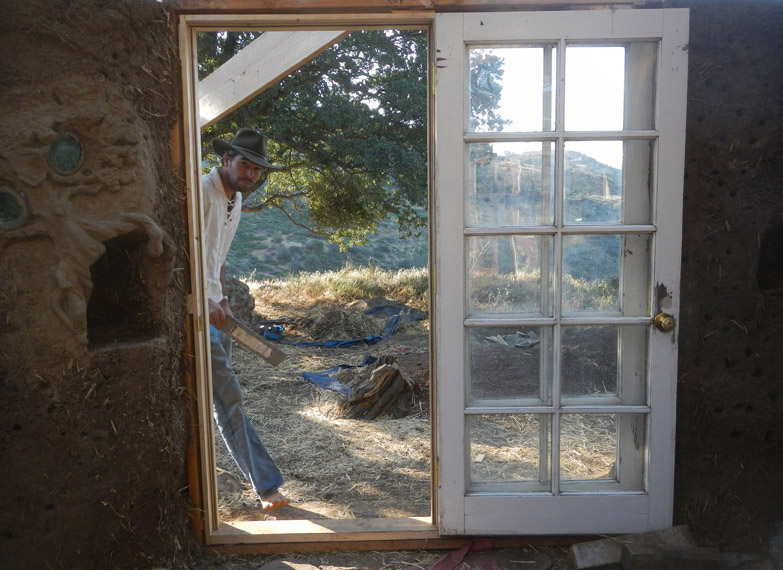
Door buck is set directly into cob (yes, it’s that strong), and we’ll embed ‘dead-men’ along the edges for future stability (see below).
‘Dead-men’ of manzanita branches are nailed to the door buck to prevent the door from the possibility of being knocked out of the wall.These ‘dead-men’ are buried directly into the cob wall. There is NO WAY the door going anywhere now :)Doorstep is made of local flagstones held in place with cement mortar. Galen took this on as a personal project.The door buck is braced from inside and outside to keep it level as the cob walls set. Clay (and cob) shrinks when it dries, and it is expected that the walls will move a couple of inches. This can potentially twist the door buck out of alignment.Fast-forward into the future, and here is the nearly-finished door with Justin (he is the future house-dweller) peeking in. The only thing remaining is to wash it, sand it and paint it – all fun and games.
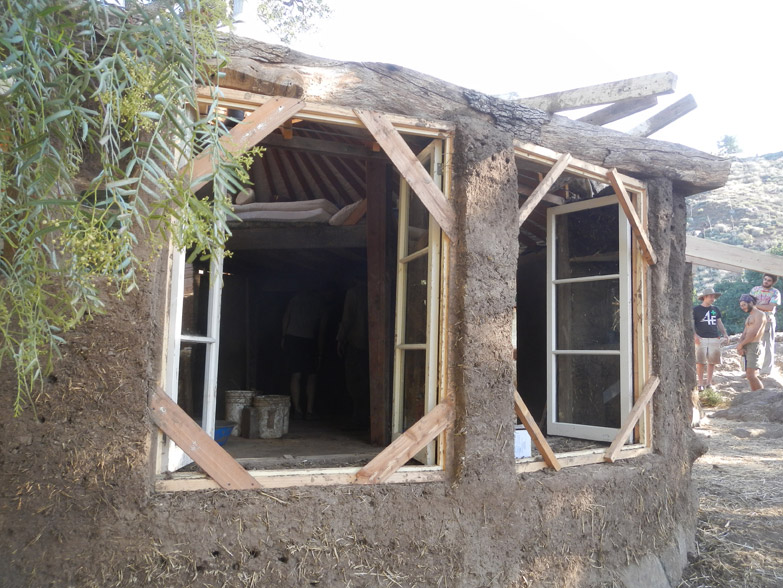
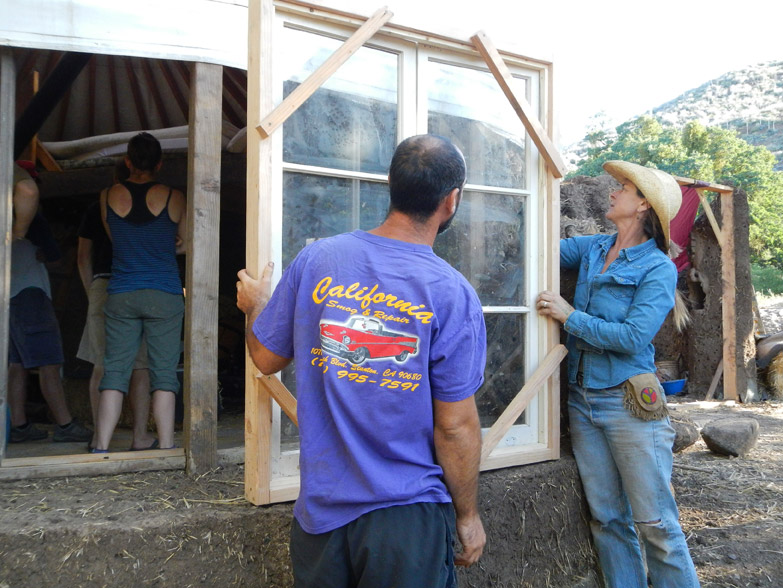
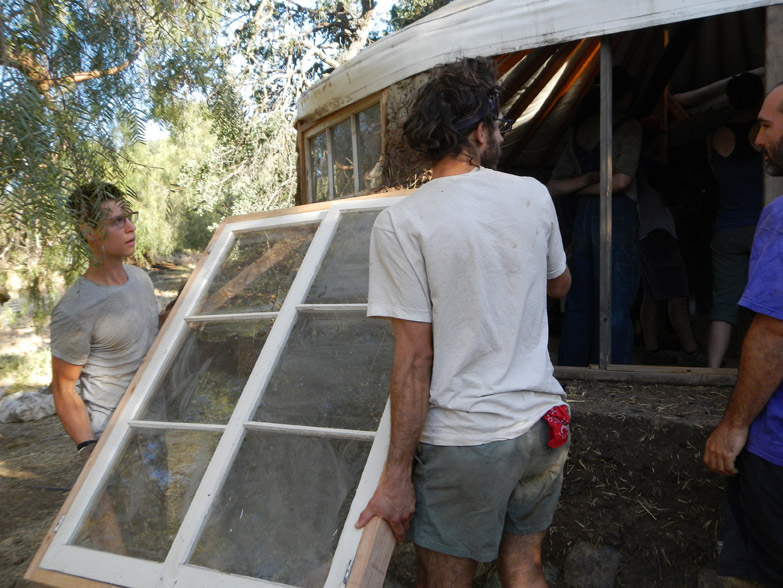
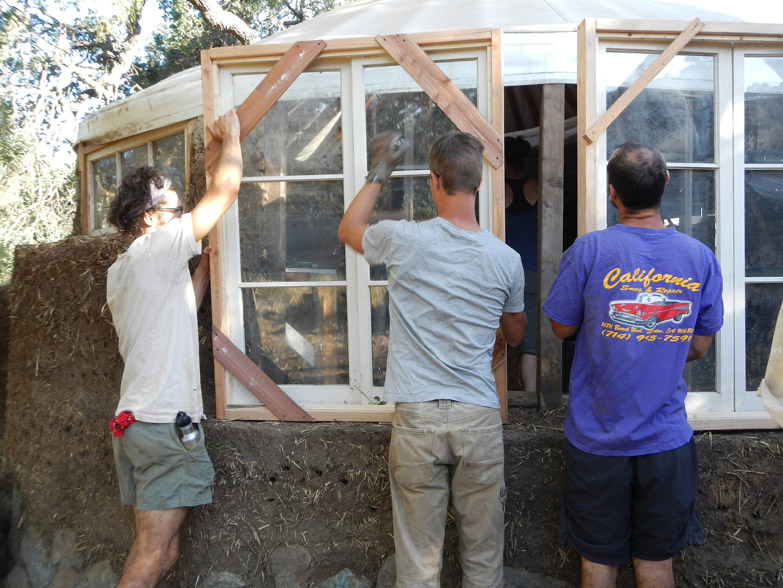
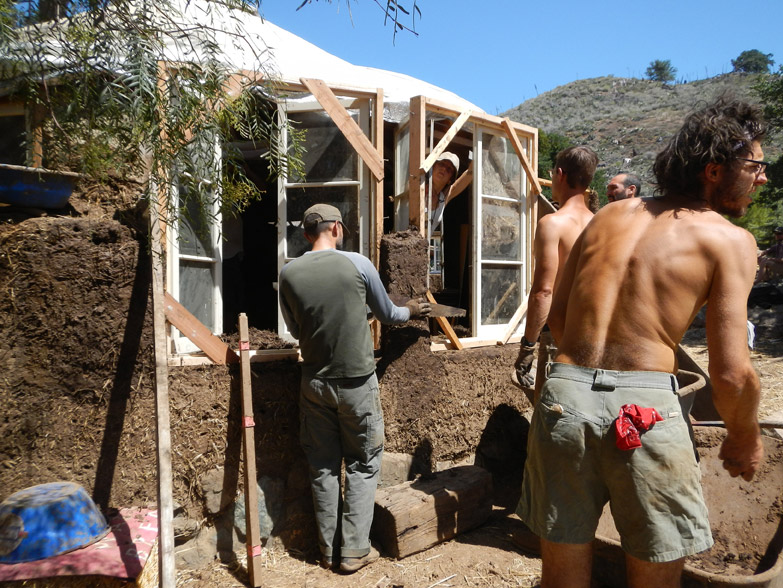
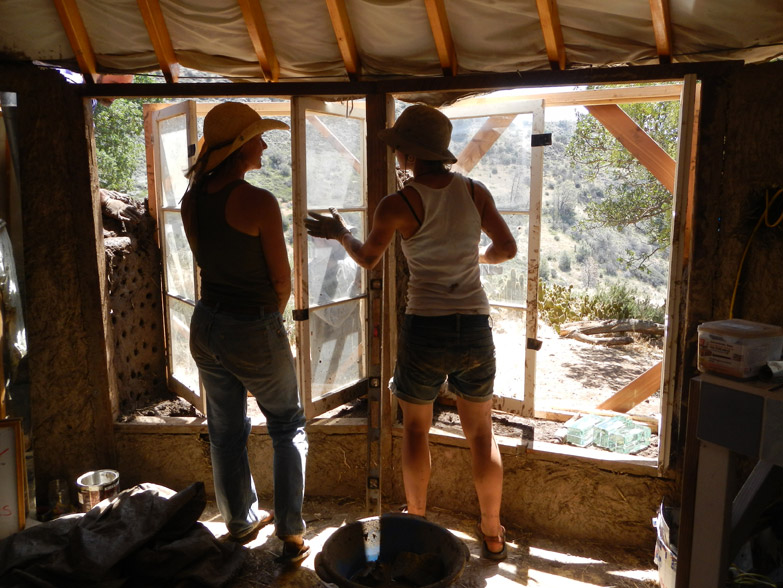
W I N D O W S
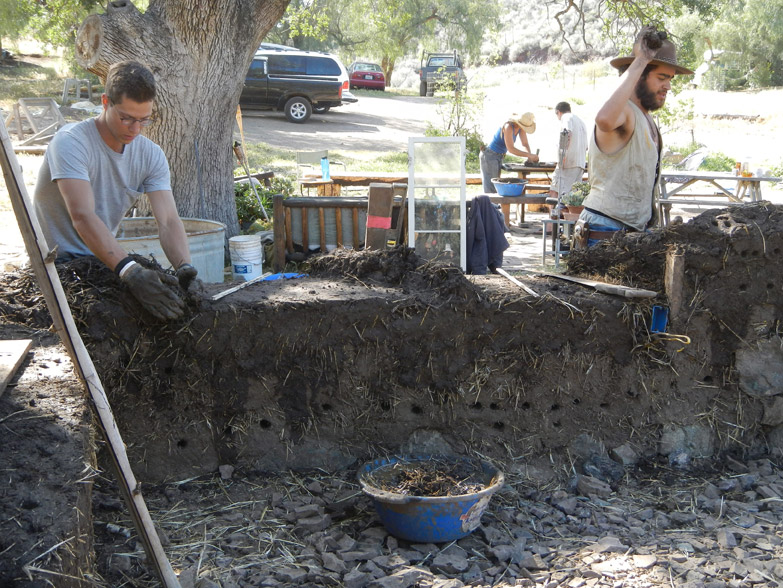
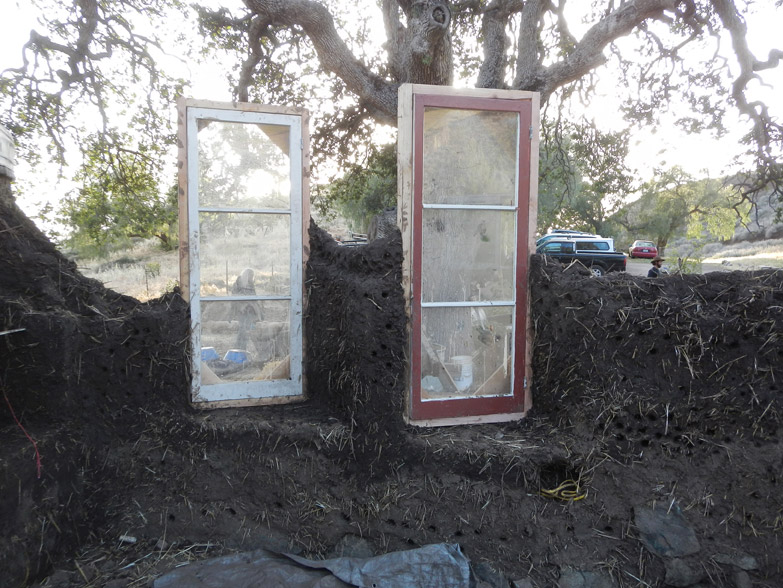
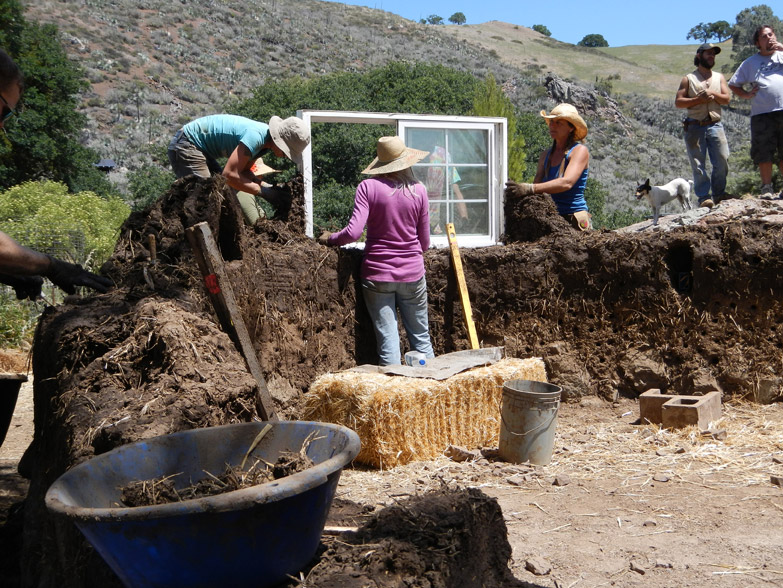
Like doors, the windows can be set directly into cob. Here, Oliver is preparing the window sill.Positioning the window…These 2 windows are facing west, where the hot afternoon sun comes from. To avoid direct sun from overheating the house, the windows are turned on an angle.Another window, this one facing North. In Santa Barbara county it doesn’t get very cold in the winter, so the houses can afford north-facing windows.These are crème de la crème. They are facing East to let in the morning sun, and on the inside there is enough space on to sit and to cozy up with a cup of morning tea. Not to mention the view!Installing the windows is as easy as ONE…TWO…THREE… done!Surround the window bucks with cob, check level and trim away the extras.Windows from the inside.And some decorative details on the outside.
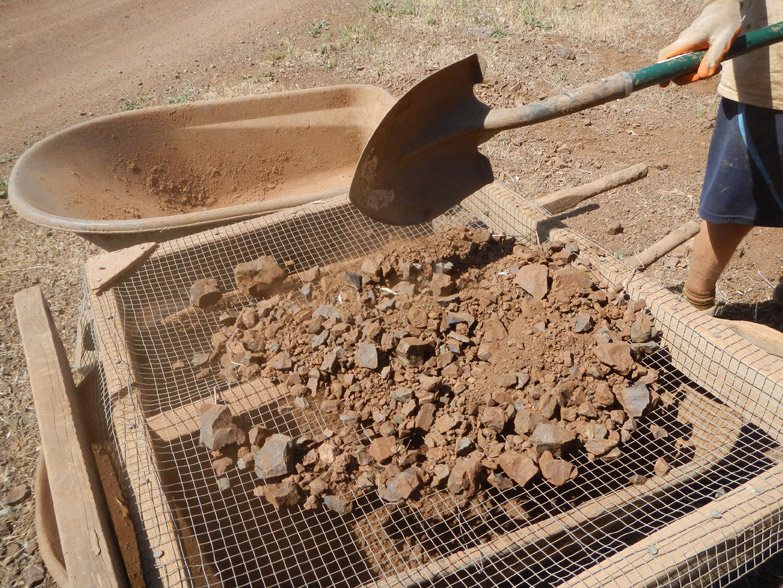
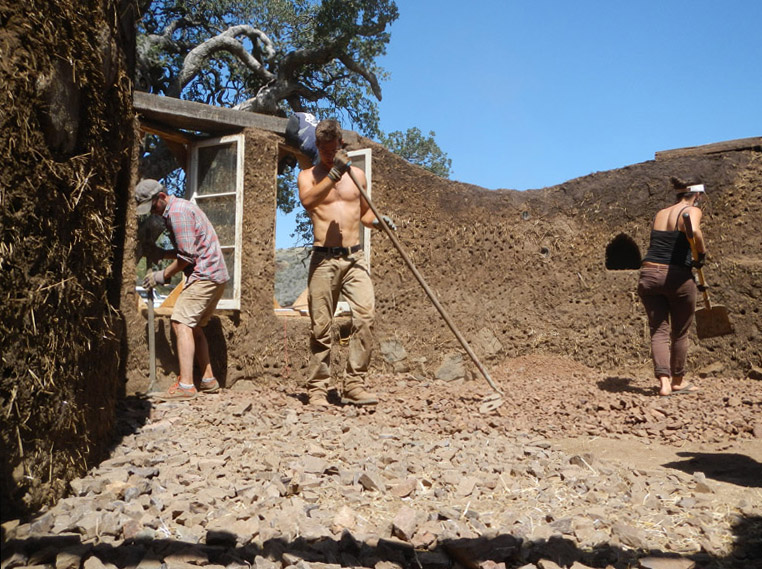
F L O O R S
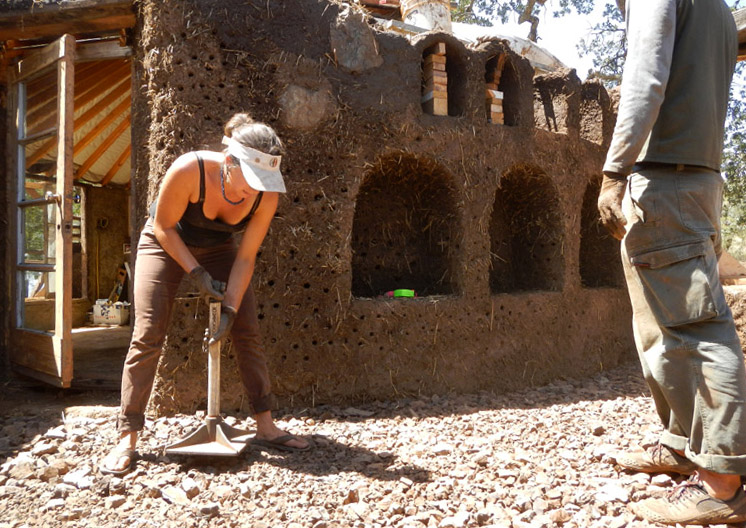
We only got to the base floor in the 20 days of the workshop. Next steps after the base floor would be to lay the subfloor and then pour in the final top coat. These photos show the beginning of the floor process.
Gravel is source from the property by sifting it out of the soil.Gravel base is spread, making sure it lays flat.“Stomp stomp stomp” says the stomper stomping gravel into a flat surface.
2 replies on “Doors, Windows and Floors of a Cob House – “Cob Cottage Company” Natural Building Apprenticeship at Spirit Pine Sanctuary”
Yeah! I will be posting more photos in a very short future (fingers crossed), just need to get them organized :). You can subscribe to the blog, and received an e-mail notification when I do post them.
Thanks so much for posting these! I was really wanting to see photos of how the project progressed. Do you know of more as it continued? Great job!