Categories
Natural Building

Decorative and Functional Features of the Cob House We Built – Natural Building Apprenticeship

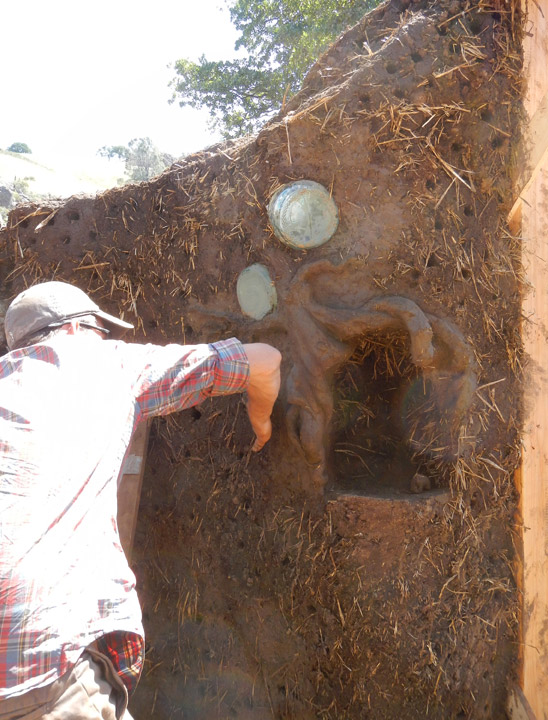
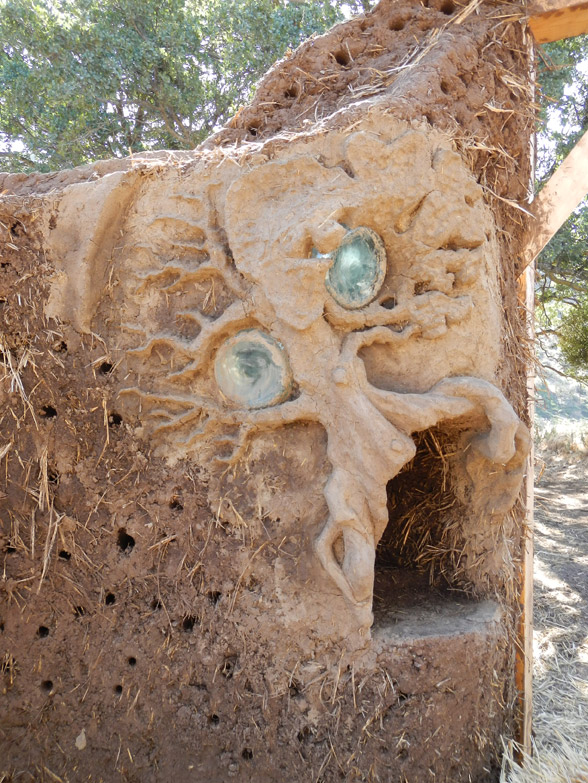
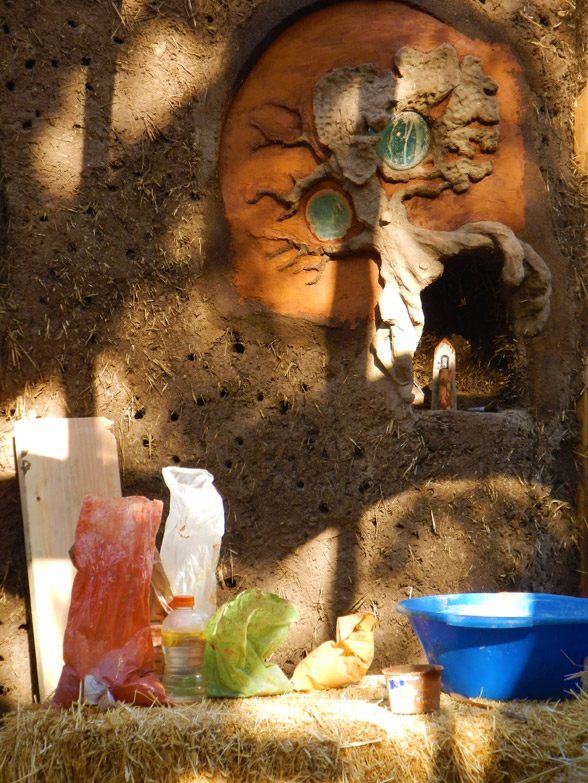
Solstice sun sculpture by Galen Clarke

Humans are creative creatures, and no other building medium is as creatively fluid as cob. We’ve experienced dozens of cob houses on this trip, and each one is as individual as the person (or team) who built it. Yes yes, I know, ‘form follows function’ and every design feature has to be justified by its practical application, but form also follows fun, and if you are going to have built-in shelves, why not make them arched and finished with beautiful mosaics? Oh, and there is a little space left above the arches, so how about another set? :)

The photos below show some of the planned and unplanned features we incorporated into the house. Most of them were driven by the thoughts of what this family of four (two adults and two small boys) might need. Plenty of storage space, for instance, and a place to have a cup of tea overlooking the landscape. And there were some spontaneous decisions made for the benefit of learning: how to make niches, how to use natural plasters and how to sculpt with cob. If this was my house…I think I would apply a more designed approach, I like consistency and precision. But I must admit that the house we built (and every other cob house we’ve seen) has its undeniable charm.

A R C H E D   S H E L V E S

This was a personal project for Juan and myself. We used an internal non-load-bearing wall (the cob surrounding the exposed yurt wall) to create a series of large-ish arched shelves, this room being the bedroom and a logical place for extra strorage.
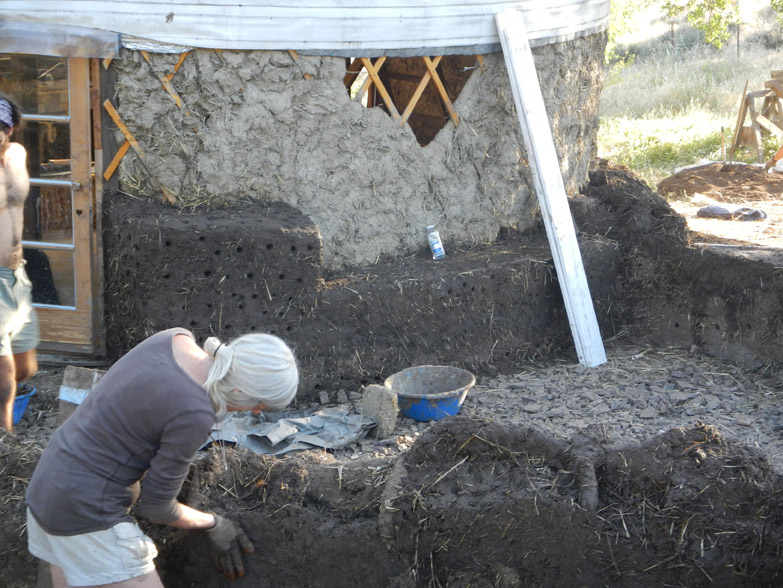
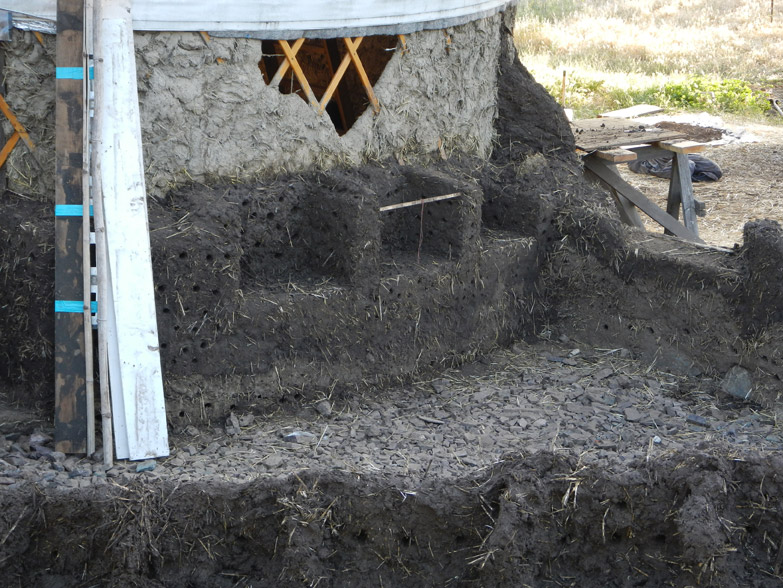
We levelled the wall to create the base for shelf arches. See where the bottle is? That's where the shelves will be erected.
We levelled the wall to create a base for the shelving arches. See where the water bottle is? That’s where the shelves will be erected.
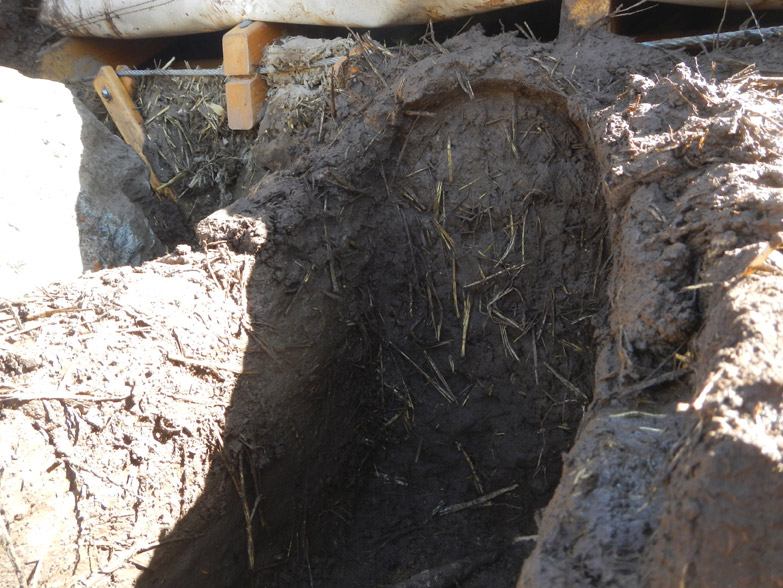
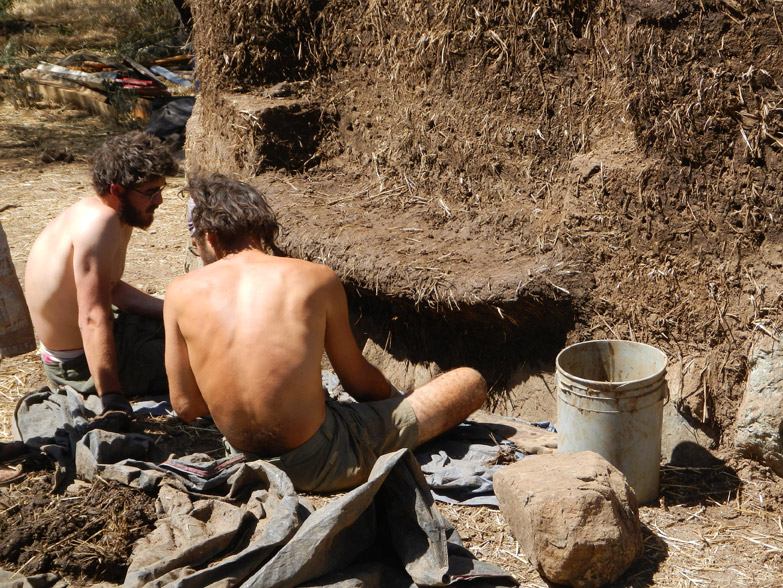
We built the columns between the three arches first.
We built the columns between the three bottom arches first.
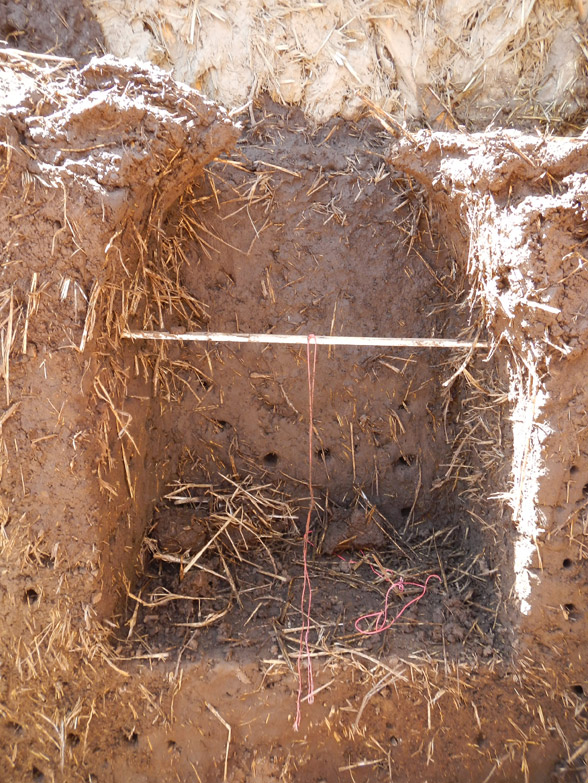
We continued to build up the tops of the columns by thickening them and shaping them like a front of a boat. The stick in the middle is a measurement guide, with a string tied to the middle to help us trace out a semi-circle for the top of the arch.
We continued to build up the tops of the columns, shaping them like a front of a boat. The idea is to make the two sides meet without them collapsing under their own weight. The stick in the middle is a measurement guide, with a string tied to the middle to help us trace out a semi-circle for the top of the arch.
For the smaller top arches we used a different technique. After marking out the arch on the back wall we created long sausage-like cobs (also called corbels) and and attached the ends to either side of the column to build the arch in one step. It worked.
For the smaller top arches we used a different technique. After marking out the back wall we created long sausage-like cobs (also called corbels) and attached the ends to either side of the column to build the arch in one step. It worked.
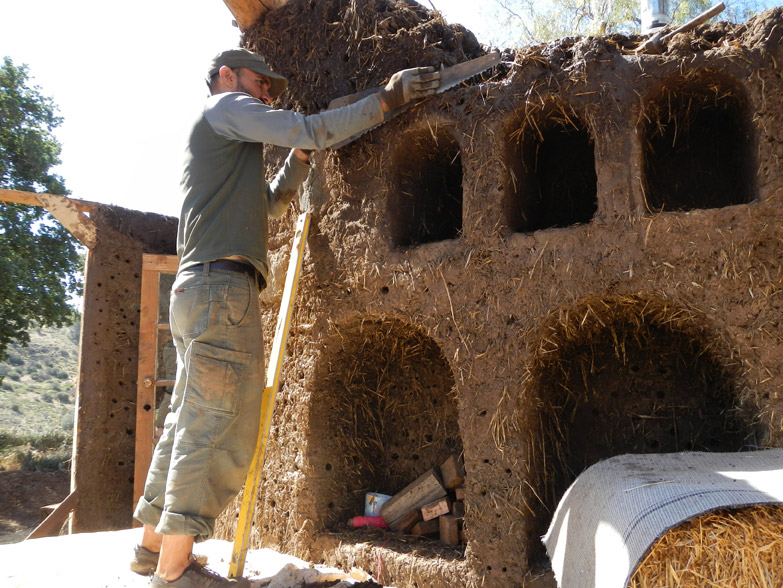
Trim away the extras and voila...seven arches completed.
Trim away the extras and voila… seven arches completed.

S O L S T I C E    S U N   S C U L P T U R E

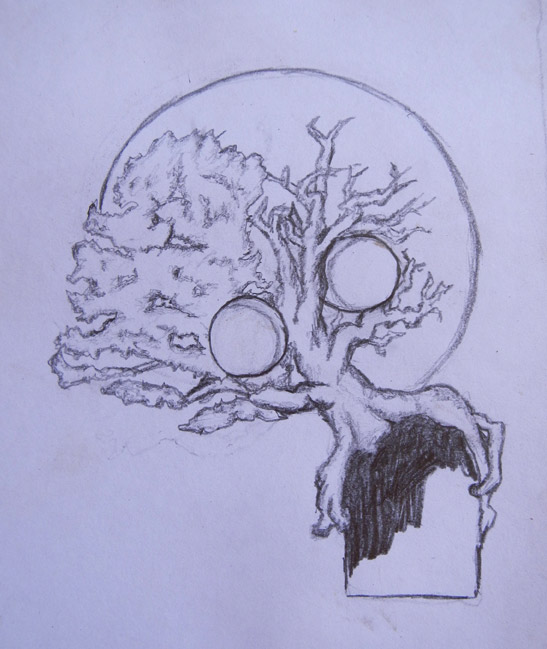
Galen Clarke is a brilliant photographer and a skilled sculptor. He contributed to the project in many ways, one of them by creating this sculpture with clay, cob and glass jars. The top jar is positioned to let in the first sun rays on the day of summer solstice, and the bottom – the winter solstice, of course. Notice how the tree that holds these light vessels is in full foliage for the summer and bare in the winter. Very clever.
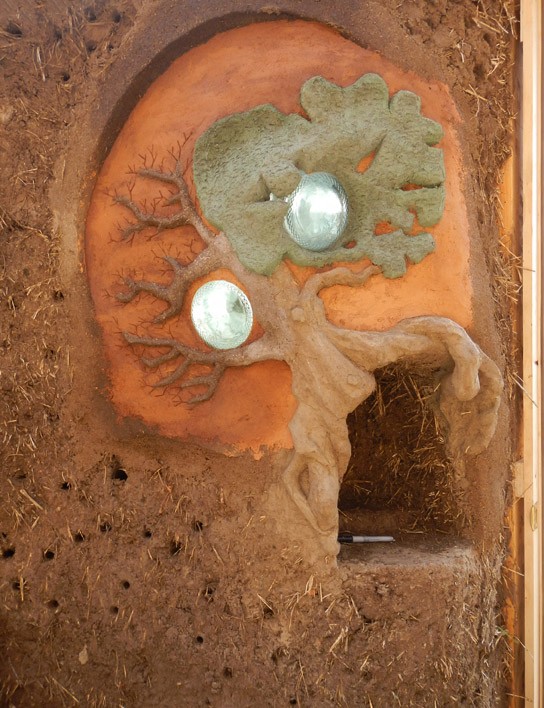
Solstice sculpture painted with natural pigments.
Preliminary drawing.
Preliminary drawing…
The artist (Galen) at work
The artist (Galen) at work.
The unpainted version.
The unpainted ‘in progress’ version.

A N D   O T H E R   F E A T U R E S
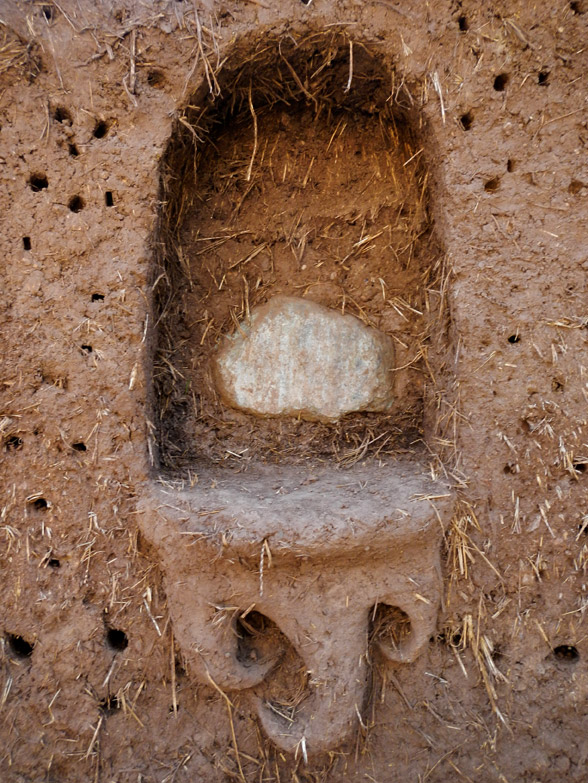
Decorative niche by Chicha
Decorative niche with terpentine rock by Chicha
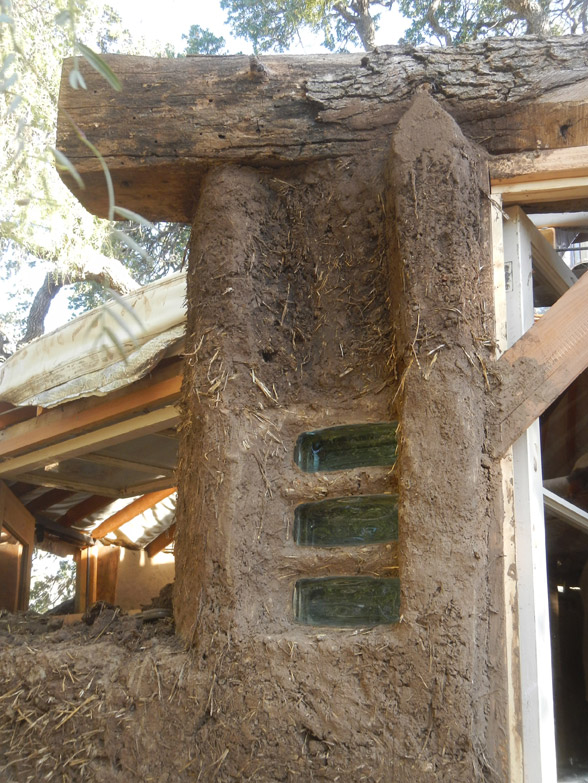
Window sides decorated with glass blocks
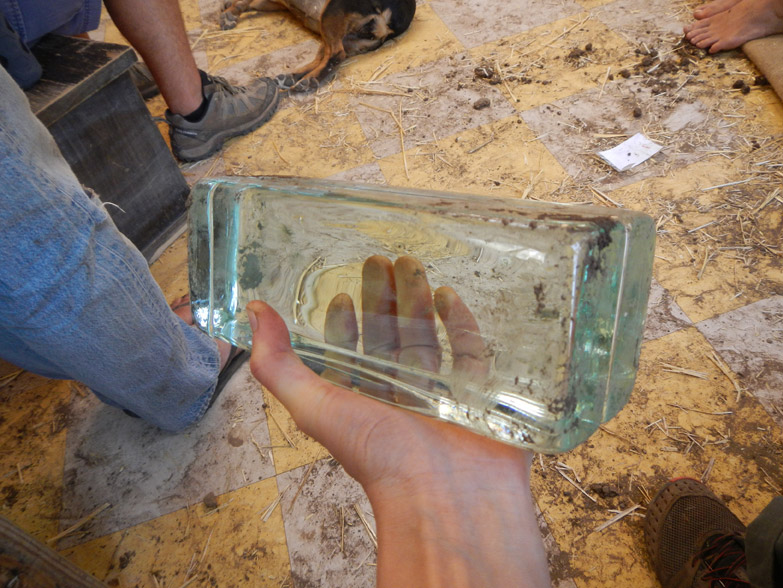
This is what the glass blocks look like before being embedded into cob.
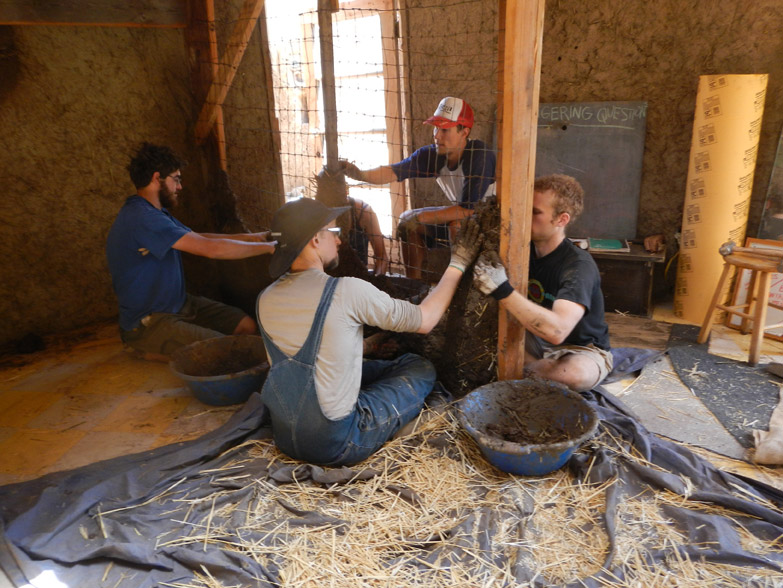
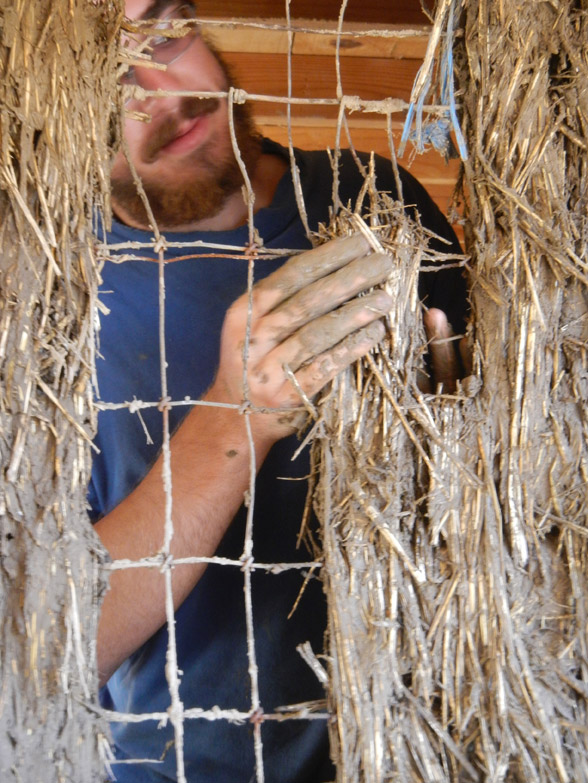
We also built an internal wall using light-clay-straw (fancy way of saying that we wrapped straw chunks on the fencing wire).
We also built an internal wall using light-clay-straw (fancy way of saying that we wrapped straw chunks around fencing wire).
Vincent is 'grocking' light-clay-straw.
Vincent is ‘grocking’ light-clay-straw.
Corbeled bench for morning tea. Notice that the sides of the bench are like little triangle tables designed to be able to place your cup on it.
Corbeled bench for morning tea. Notice that the sides of the bench are like little triangle tables designed as a place to rest your cup on.
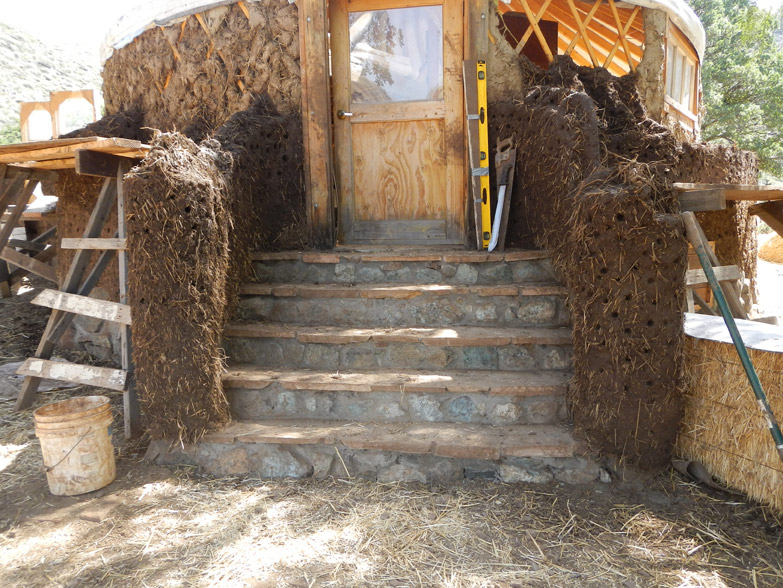
Cob columns around the entry way. Eventually the columns and the walls got built as high as the roof to create an enclosed space around the stairs.
Betty demonstrated how to build a quick wall niche...
Betty demonstrated how to build a quick wall niche…
... and we ended up with this cute niche :)
… and we ended up with this cute niche :)

3 replies on “Decorative and Functional Features of the Cob House We Built – Natural Building Apprenticeship”

Comments are closed.